Well, here is a new post! I made a carrot cake with cream cheese frosting and a new 'fondant' recipe, it's super simple and tastes great! (Although, tips to come on how to work with it!)
Here are the ingredients you need : Your favorite Carrot Cake Mix (I used box because that's a lot of work to make it by scratch, but you can if you want!), Cream Cheese Frosting, 12 oz. White chocolate candy melts, Light corn syrup, and corn starch.
Okay, I started making the fondant because you have to let it sit for an hour. (This is NOT my recipe, I tried it from the Better Homes and Garden magazine)
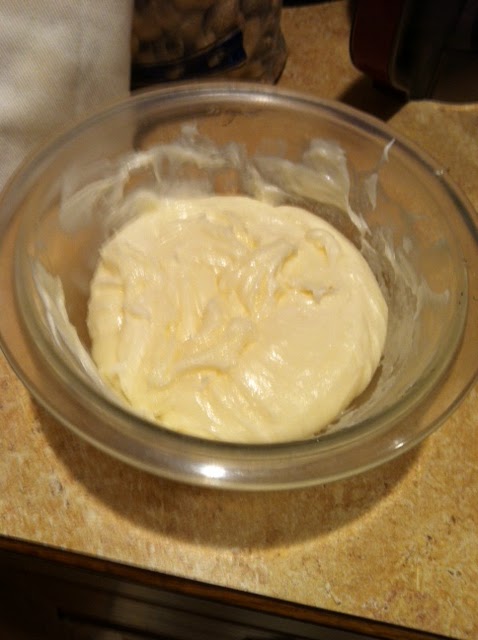
Step 1: Melt the bag of White Chocolate Candy Melts by cooking for 20 seconds at a time, DON'T COOK TOO MUCH! Stir after every 20 seconds until melted, don't over do it!! **Tip: It should take about 1 minute in total**
Step 2: Mix with 1/3 cups light corn syrup in a separate bowl and cover with plastic wrap TIGHTLY and let sit on the counter for at LEAST an hour.
***To color will come later!***
Now, make the carrot cake following the instructions on the back. Put it in your pan, I used a ten inch round pan, so baking time differs, but the back of the box should say depending on your pan. If not, then bake for 10 minutes and check by inserting a tooth pick in the middle, if it comes out clean then it is done. If not, then keep cooking it for about 5 minutes and check it again. I used a ten inch round and it took roughly 20 minutes. But keep with the ten minute and then five at a time tip.
Once done baking, take it out of the pan **Careful! Pan will be HOT** You can let it cool before you do this, but don't let it cool completely, or it will stick to your pan! That is why I do it as soon as it's done. Let the cake cool COMPLETELY now.
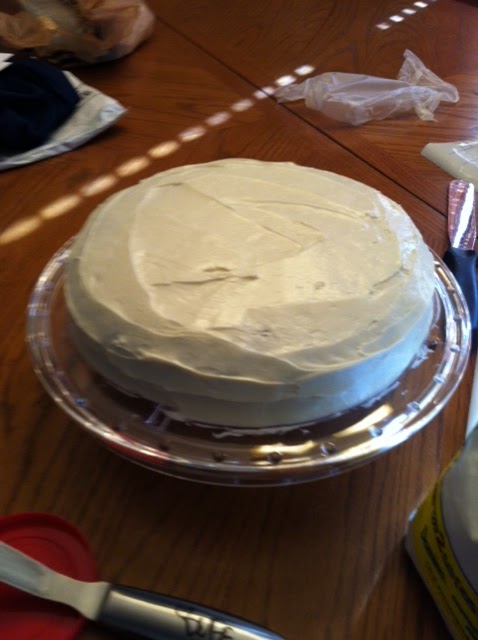
Once that is done cooling, cover the top and sides in the cream cheese frosting and set aside. Time to cover in the candy clay/fondant!
Place the candy clay on a lightly dusted corn starch surface, I use a wilton rolling mat. Knead it until it's nice and pliable, but not too much, remember, it's still chocolate so it can melt and get sticky!! (Thats why I use corn starch, keeps it from being sticky if used right!). Now, if you want to color it, use a tooth pick and add a little at a time and knead it until fully mixed, and keep adding until you get the shade you want. You don't have to color it, I didn't.
Roll it out on the corn starch dusted surface until it is thin. Now comes the harder part. This took me two tries. If it's too warm and you played with it too much, it may tear, so, BE PATIENT! You get frustrated and flustered, it won't work. At all. Trust me, I know that first hand. Once rolled, I used a icing spatula and took it and scraped under the candy clay because it may have stuck a little. I used both arms (don't be afraid to get dirty!!) and lifted it and QUICKLY centered and laid it on the top of the icing covered cake.

Now, this part you also need to go quickly. Cut off any extra pieces or it will weigh it down and tear. Smooth it down on the icing, trying to not get any seams. I have a wilton fondant smoother tool and use it, I love it, works GREAT! Especially for the sides of the cake. Anyway! after smoothing it, trim the sides again, making sure it's as close to the bottom as possible. Now, the decorating part is up to you! I just added little things from this mold I have to just test it out. I wanted to see how well it worked so I just kinda placed some things here and there.
I stuck my cake in the fridge and it was still alright, the chocolate does have the syrup in it so it doesn't completely become solid. Note: If you make a larger cake, double the one and a half the recipe for the fondant/candy clay.
NOTE: I know my writing may not be the best, I am not a fancy published author or anything so, if you have questions, feel free to comment! I don't bite! I will answer! Or just comment to comment, let me know if you tried it and how it went!! (:
Thanks! See you next time!